All biometric cards are being phased out at the end of the year so you will need to replace yours with the new e-visa. The process is quite time consuming and takes 40-60 minutes. I hope that this guide will take you through the process successfully, but if you are really struggling to do it on your own call 07931667223 for guidance.
First of all you will need to go to the Home Office website, or paste the following link into your browser https://www.gov.uk/get-access-evisa Here you will be able to set up your new e-visa and view it online visa once you have completed the set up.
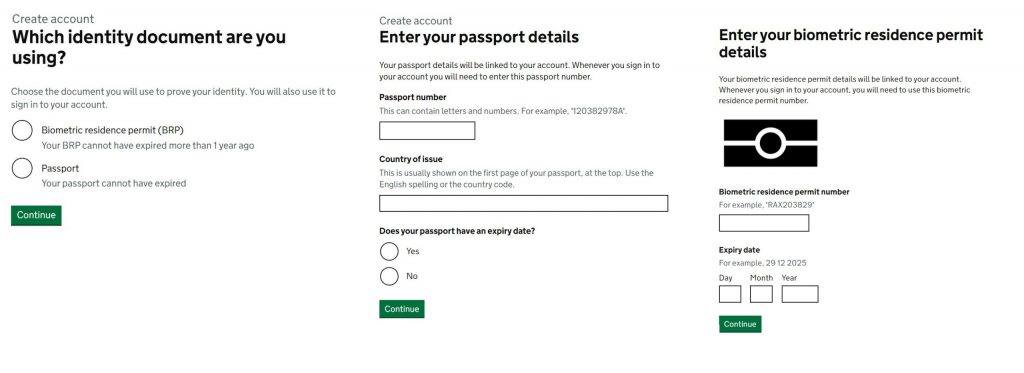
Before you start you will need your biometric card and a charged smart phone; you don’t want it running out during the process; that would not be fun. It is also possible to use your passport instead of your biometric card, but at the moment the system doesn’t work too well when using passports, but more on that later. Let’s get started. First you will need to click on the green ‘start now’ button and you’ll be taken to the page you can see below.
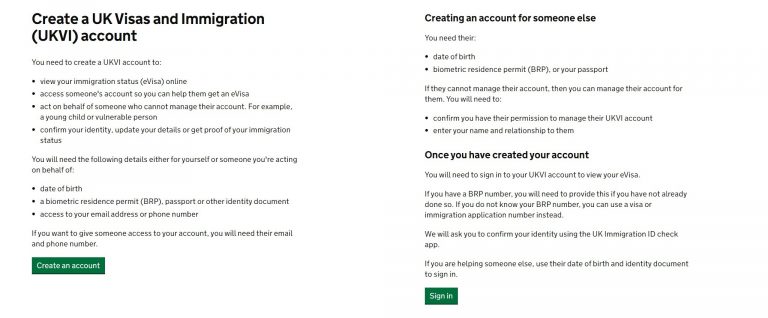
After clicking on the link you will need to do 2 things; first create a UKVI account and then prove your identity by using the UK Immigration:ID Check app.
After completing the page above. You will need to give information about your biometric card on the next three pages. This should be very straightforward.
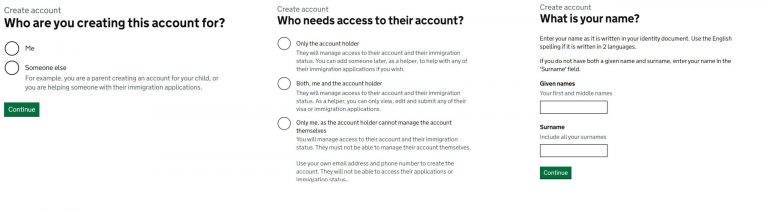
Next you will be asked to set up your account. You can also let someone else set up and have access to your account.
Now provide some personal information.
You will be asked to choose wish document you would like to use to identify yourself. I strongly recommend using your biometric card as the system doesn’t work with passports at times. Now enter the required details.
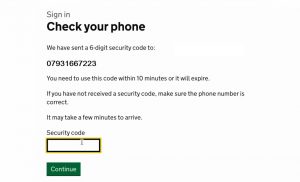
You will be asked to give an email address. Once you have done this you will receive a 6-digit security code sent to your chosen email address.When you have entered the code you will be asked to provide a telephone number. You will again receive a code on your phone this time.
You will now see a listing of all the answers you have given. Just give them a check to make sure they are all correct. You will now receive an email telling you that you have successfully created your UKVI account. It was hard work but we got there. Don’t get too comfortable though: you are only half way through the process.
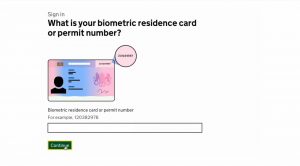
You now need to complete the second step which is proving your identity, so sign into your account.
Hopefully you used your biometric card as I advised earlier.
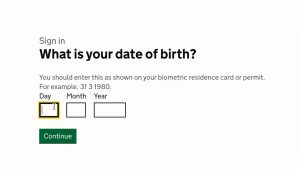
Now give your date of birth.
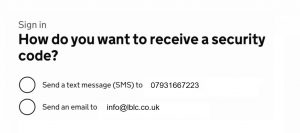
Decide how you want to receive your security code, by phone or email.
Enter the security code.
You can now start to link your eVisa to your account. You will see an application form.
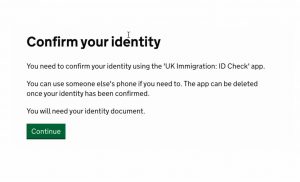
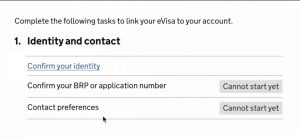
You are now logged into your account and can start the process of confirming your identity. Click on the link which says ‘confirm your identity’. You’ll be taken to the page that you can see below.
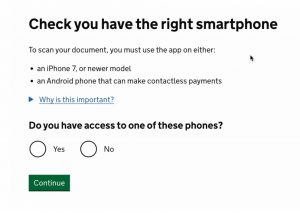
Now get your phone ready. Make sure it is charged to at least 50%. We wouldn’t want it running out of charge half way through the process.
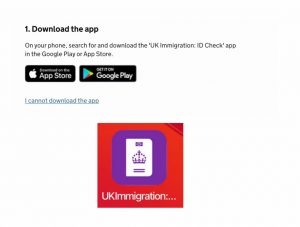
Download the UK Immigration :ID Check app. on your phone and follow the instructions.
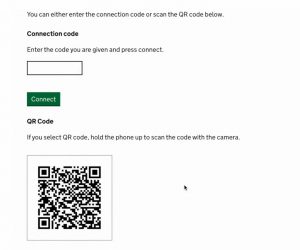
You will now connect the app to your application. Use the QR code or the connection code. You will then receive confirmation that your application is connected to the app.
You’ll now be using the app on your phone for a while.
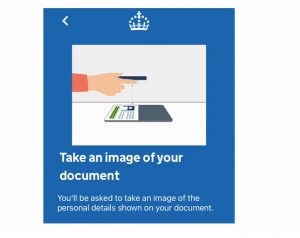
There are four stages to confirming your identity. First you will need to take an image of your document, you will need to take two pictures of your biometric card, start with the back then do the front.
Next you will use your phone to access the chip in your card. Place your phone on top of your card with the phone face up you may need to move your phone around a little bit. Once you see that the phone is trying to access the card do not move it anymore. If it still doesn’t work take the cover off the phone and move it to a slightly different position.
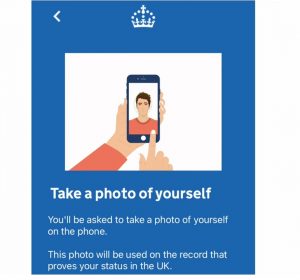
When you have finished scanning your card you will need to scan your face. Hold your phone away from your face so that your face fits inside the green circle. As soon as your face is in the right position the process will start automatically.
You will now need to take a photograph of yourself. It’s easier if you have someone to do it for you but if your arms are long enough and you’ve got a steady hand you can take a selfie. A little bit of advice, take the photo against a plane light background and make sure you have enough natural light. I once tried to do this for someone using artificial light and the app rejected the photo on 6 occasions. Once you have taken the photo you will either receive a message saying the photo doesn’t match the requirements or you will be asked if you are happy to use the photo; which means that the photo has been accepted.
Sorry I forgot one thing. This will be the photo on your new eVisa so you might want to make yourself presentable. If it’s important to you, take a bit of time to make yourself look good.
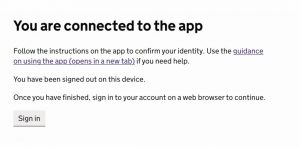
Once you have completed everything you will need to go back to the web browser and sign in . You can either go back to your laptop if you were using one, or stay on your phone.
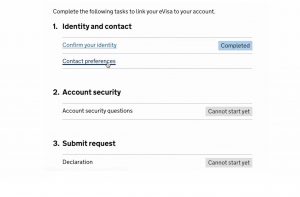
When you log in you will see the screen below and it should show that you have completed the confirm your identity section.
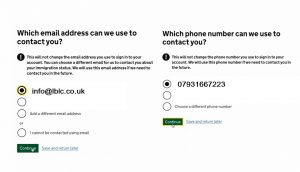
Now click on contact preferences and fill in the details.
Enter an email and phone number that you know you have long-term access to.
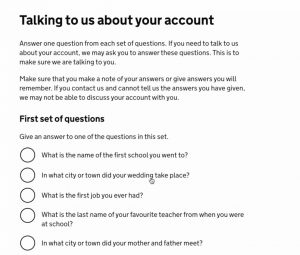
Next you will need to provide the answers to three security questions. It might be a good idea to note these answers down somewhere just in case you lose your biometric card.
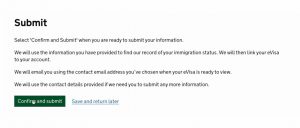
Now click on ‘declaration’ and then on ‘submit’ and finally ‘confirm and submit’.
You have now submitted your application and will receive an email confirming this.
Everything is done now and it shouldn’t take more than 24 hours for your account to be ready to be viewed.
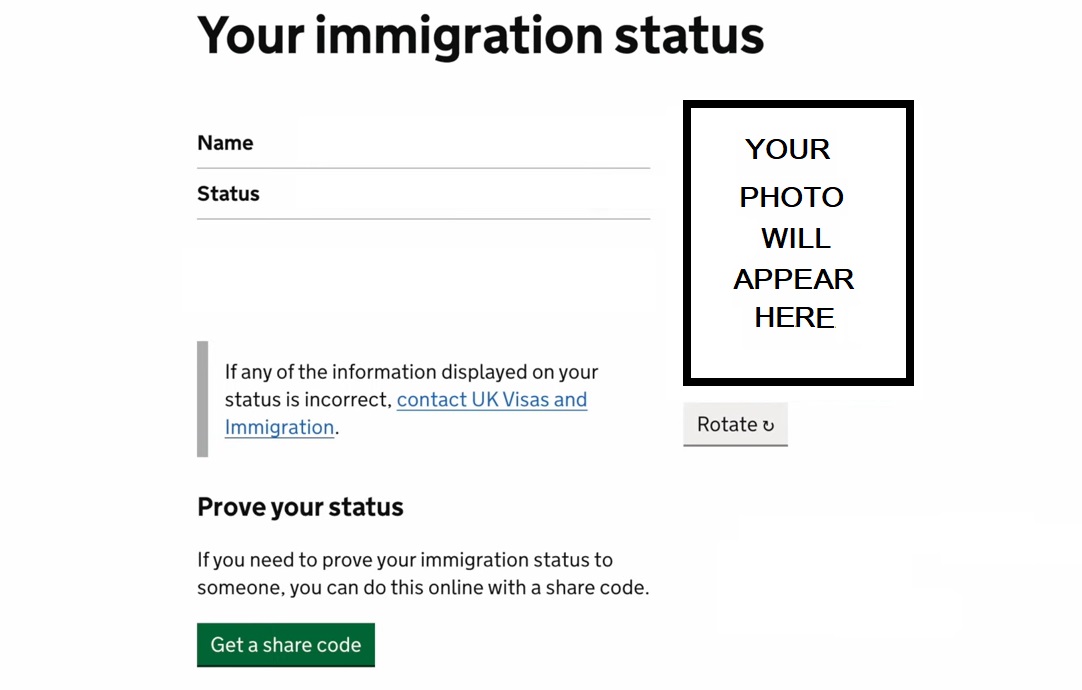
You can log in anytime and guess what, you might just get to see that beautiful photo you took earlier.
Now you will be able to quickly and easily prove your status to anyone who needs this information.